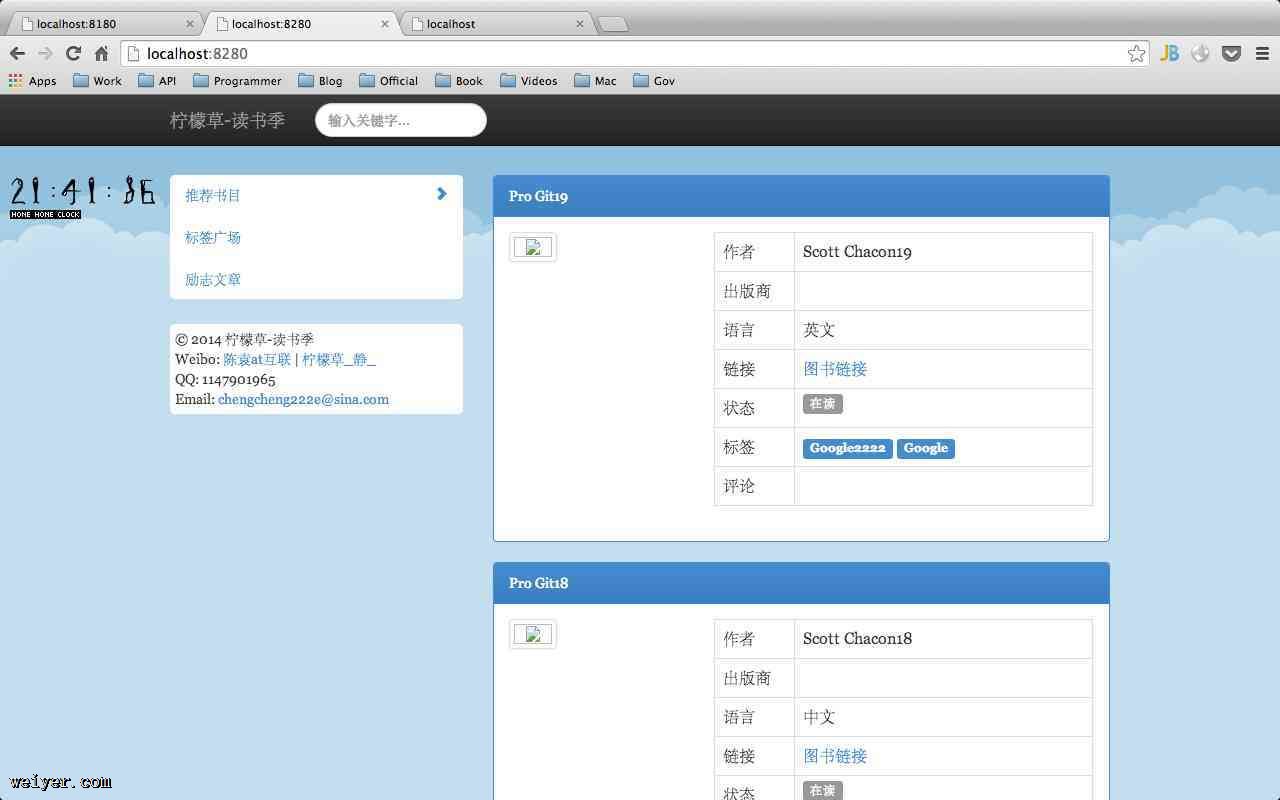
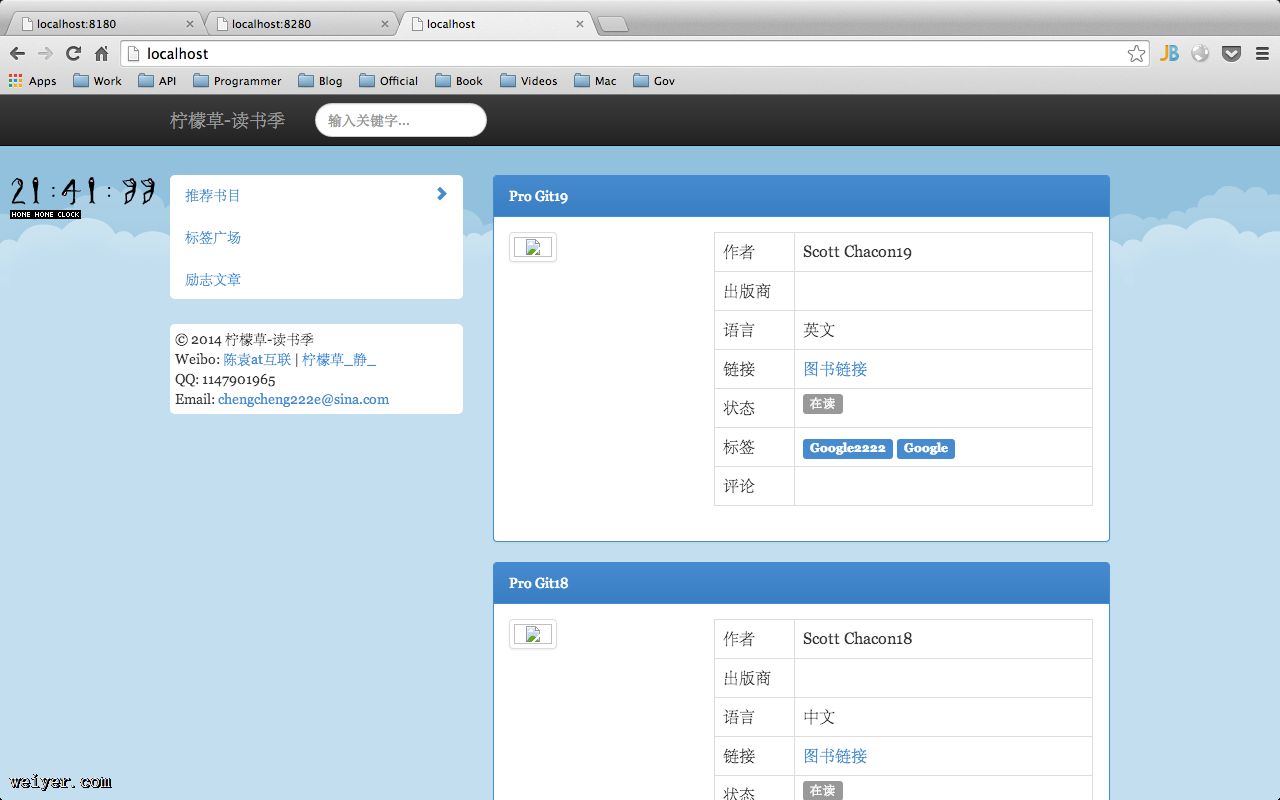
下面开始我们的步骤:
第一步: 安装我们的Nginx, Mac上是利用brew安装的;
[chenyuan@Mac:~]$brewinstallnginx
==>Installingnginxdependency:pcre
==>Downloadinghttps://downloads.sourceforge.net/project/pcre/pcre/8.34/pcre-8.3########################################################################100.0%
==>./configure--prefix=/usr/local/Cellar/pcre/8.34--enable-utf8--enable-unic
==>make
==>maketest
==>makeinstall/usr/local/Cellar/pcre/8.34:140files,4.1M,builtin58second>
==>Installingnginx
差不多就这一步, 我们看看是够安装成功:
[chenyuan@chenyuan-MBP:~]$nginx-V
nginxversion:nginx/1.4.4
TLSSNIsupportenabled
configurearguments:--prefix=/usr/local/Cellar/nginx/1.4.4--with-http_ssl_module--with-pcre--with-ipv6--sbin-path=/usr/local/Cellar/nginx/1.4.4/bin/nginx--with-cc-opt=-I/usr/local/include--with-ld-opt=-L/usr/local/lib--conf-path=/usr/local/etc/nginx/nginx.conf--pid-path=/usr/local/var/run/nginx.pid--lock-path=/usr/local/var/run/nginx.lock--http-client-body-temp-path=/usr/local/var/run/nginx/client_body_temp--http-proxy-temp-path=/usr/local/var/run/nginx/proxy_temp--http-fastcgi-temp-path=/usr/local/var/run/nginx/fastcgi_temp--http-uwsgi-temp-path=/usr/local/var/run/nginx/uwsgi_temp--http-scgi-temp-path=/usr/local/var/run/nginx/scgi_temp--http-log-path=/usr/local/var/log/nginx/access.log--error-log-path=/usr/local/var/log/nginx/error.log--with-http_gzip_static_module
能看见, 这里安装的是 1.4.4版本的.
顺便告诉大家, brew安装的文件路径一般默认在:
[chenyuan@chenyuan-MBP:Cellar]$pwd
/usr/local/Cellar
然而, nginx的真正路径在:
[chenyuan@chenyuan-MBP:nginx]$pwd
/usr/local/etc/nginx
我们启动nginx服务器:
[chenyuan@chenyuan-MBP:~]$sudonginx Password: nginx:bind()to0.0.0.0:80failed(48:Addressalreadyinuse) nginx:
bind()to0.0.0.0:80failed(48:Addressalreadyinuse) nginx:
bind()to0.0.0.0:80failed(48:Addressalreadyinuse) nginx:
bind()to0.0.0.0:80failed(48:Addressalreadyinuse) nginx:
bind()to0.0.0.0:80failed(48:Addressalreadyinuse) nginx:
stillcouldnotbind()
输入你的个人密码, 就算是启动了:
这就算启动了. 很简单吧~
如果是查看nginx启动进程
[chenyuan@chenyuan-MBP:~]$ps-ef|grepnginx
08220109:07PM??0:00.00nginx:masterprocessnginx
5028322822009:34PM??0:00.87nginx:workerprocess
5028323822009:34PM??0:00.15nginx:workerprocess
5028704859808:27PMttys0000:00.00grepnginx
关闭nginx服务器:
[chenyuan@chenyuan-MBP:~]$sudonginx-sstop
============= 现在就差不多把nginx的安装说明白了. OK吗?
第二步: 我们在本机部署2台Tomcat容器, 并且要正常跑起来. 具体看看:
你需要下载一个Tomcat, 这个我觉得不需要在说怎么下载Tomcat了吧..我一般会去官方下载tar包.
apache-tomcat-7.0.37
下载之后, 我们将名字修改为:
drwxr-xr-x16chenyuanstaff544Jun2118:39tomcat-7-2
drwxr-xr-x16chenyuanstaff544Jun2118:41tomcat-7-3
我这里暂且从2开始取名吧~ 因为我本地还有一个tomcat-7-1, 自己开发用的. 反正这只是一个文件夹的名字而已, 应该不会造成混淆. 我们就以tomcat-7-2,tomcat-7-3, 开举例子:
如果需要让2台Tomcat同时启动, 我们是需要修改配置文件的, 因为Tomcat绑定的端口号是唯一的, 其实我们就是让他们的端口号不冲突而已. 这样子就能跑起2台Tomcat了.
进入tomcat-7-2的配置
[chenyuan@chenyuan-MBP:conf]$pwd
/Users/chenyuan/Library/tomcat-7-2/conf
[chenyuan@chenyuan-MBP:conf]$ls-l
total408
drwxr-xr-x3chenyuanstaff102Jun2118:39Catalina
-rw-r--r--1chenyuanstaff12377Jun2118:39catalina.policy
-rw-r--r--1chenyuanstaff6528Jun2118:39catalina.properties
-rw-r--r--1chenyuanstaff1392Jun2118:39context.xml
-rw-r--r--1chenyuanstaff3352Jun2118:39logging.properties
-rw-r--r--1chenyuanstaff6455Jun2118:52server.xml
-rw-r--r--1chenyuanstaff1528Jun2118:39tomcat-users.xml
-rw-r--r--1chenyuanstaff162892Jun2118:39web.xml
[chenyuan@chenyuan-MBP:conf]$
我们打开server.xml文件, 这里就是我们需要配置的地方, 利用open命令打开, 很爽的一个命令, 我这里设置默认打开为 Sublime Text 2, 一般默认为 VIM.
[chenyuan@chenyuan-MBP:conf]$openserver.xml
[chenyuan@chenyuan-MBP:conf]$
这3个关键子地方的port, 很好记, 我现在修改后都是以 81开头的, 而之后的tomcat-7-3, 我就会以82开头:
这里就算配置完了, 我们可以建立明目直接发布到每个不同的tomcat中, 也可以直接跑. 我这类是直接发布的我自己的一个war包. ROOT.war 到 webapp:
[chenyuan@chenyuan-MBP:tomcat-7-2]$cdwebapps/
[chenyuan@chenyuan-MBP:webapps]$ls-l
total23352
drwxr-xr-x10chenyuanstaff340Jun2119:03ROOT
-rw-r--r--1chenyuanstaff11953340Jun2119:00ROOT.war
drwxr-xr-x53chenyuanstaff1802Jun2118:39docs
drwxr-xr-x7chenyuanstaff238Jun2118:39examples
drwxr-xr-x7chenyuanstaff238Jun2118:39host-manager
drwxr-xr-x8chenyuanstaff272Jun2118:39manager
[chenyuan@chenyuan-MBP:webapps]$
我们分开启动2个Tomcat: 这个在tomcat的bin目录下.
[chenyuan@chenyuan-MBP:bin]$shstartup.sh
OK, 我们访问: 我直接上图:

这就说明已经成功启动了2台:
第三步: 修改nginx配置, 让其做好tomcat的跳转:
进入:
[chenyuan@chenyuan-MBP:nginx]$pwd
/usr/local/etc/nginx
打开其中的nginx.conf 文件: 我将贴上最基本的全文件供大家参考:
userchenyuanstaff;
worker_processes2;

#error_loglogs/error.log;
#error_loglogs/error.lognotice;
#error_loglogs/error.loginfo;

#pidlogs/nginx.pid;

events{
worker_connections1024;
}


http{
includemime.types;
default_typeapplication/octet-stream;

#log_formatmain'$remote_addr-$remote_user[$time_local]"$request"'
#'$status$body_bytes_sent"$http_referer"'
#'"$http_user_agent""$http_x_forwarded_for"';

#access_loglogs/access.logmain;

sendfileon;
#tcp_nopushon;

#keepalive_timeout0;
keepalive_timeout65;

#gzipon;

upstreamlocalhost{
#ip_hash;
serverlocalhost:8180;
serverlocalhost:8280;
}

server{
listen80;
server_namelocalhost;

charsetutf-8;

#access_loglogs/host.access.logmain;

location/{
roothtml;
indexindex.htmlindex.htm;
proxy_passhttps://localhost;
proxy_set_headerX-Real-IP$remote_addr;
proxy_set_headerX-Forwarded-For$proxy_add_x_forwarded_for;
proxy_redirectHOSTdefault;
}

#error_page404/404.html;

#redirectservererrorpagestothestaticpage/50x.html
#
error_page500502503504/50x.html;
location=/50x.html{
roothtml;
}

#proxythePHPscriptstoApachelisteningon127.0.0.1:80
#
#location~\.php${
#proxy_passhttps://127.0.0.1;
#}

#passthePHPscriptstoFastCGIserverlisteningon127.0.0.1:9000
#
#location~\.php${
#roothtml;
#fastcgi_pass127.0.0.1:9000;
#fastcgi_indexindex.php;
#fastcgi_paramSCRIPT_FILENAME/scripts$fastcgi_script_name;
#includefastcgi_params;
#}

#denyaccessto.htaccessfiles,ifApache'sdocumentroot
#concurswithnginx'sone
#
#location~/\.ht{
#denyall;
#}
}


#anothervirtualhostusingmixofIP-,name-,andport-basedconfiguration
#
#server{
#listen8000;
#listensomename:8080;
#server_namesomenamealiasanother.alias;

#location/{
#roothtml;
#indexindex.htmlindex.htm;
#}
#}


#HTTPSserver
#
#server{
#listen443;
#server_namelocalhost;

#sslon;
#ssl_certificatecert.pem;
#ssl_certificate_keycert.key;

#ssl_session_timeout5m;

#ssl_protocolsSSLv2SSLv3TLSv1;
#ssl_ciphersHIGH:!aNULL:!MD5;
#ssl_prefer_server_cipherson;

#location/{
#roothtml;
#indexindex.htmlindex.htm;
#}
#}

#include/usr/local/etc/nginx/conf.d/*.conf;

}
其中需要注意的地方:
upstreamlocalhost{
#ip_hash;
serverlocalhost:8180;
serverlocalhost:8280;
}
location/{
roothtml;
indexindex.htmlindex.htm;
proxy_passhttps://localhost;
proxy_set_headerX-Real-IP$remote_addr;
proxy_set_headerX-Forwarded-For$proxy_add_x_forwarded_for;
proxy_redirectHOSTdefault;
}
然后重启nginx服务器: 或者关闭后开启动都一样:
最后我们输入https://localhost

第四步: 测试是否能够跳转到不同的服务器:
-
我们修改tomcat-7-2中的一个JSP页面, 而tomcat-7-3不要修改. 我们不停的刷新, 我们可以看见一会儿有变化, 一会儿不会变化, 这样说明OK了.
-
我们停掉tomcat-7-2,tomcat-7-3依然开启不管,依然能够访问;
-
我们停掉tomcat-7-3,tomcat-7-2依然开启不管,依然能够访问;
这样子就算搭建好了Nginx + Tomcat7.0 集群. 不算很难吧~ 我也是新手, 忘大家拍砖...


