简述 设置颜色 1设置起始颜色 initWithStartingColorendingColor 2多个颜色渐变 initWithColors 3多个颜色线性控制 initWithColorsAndLocations 4多个颜色 initWithColorsatLocationscolorSpace 设置路线 1drawFromPointtoPointoptions NSGradientDrawingOptions 2圆环形
简述
NSGradient 一般是用来提现渐变色。
设置颜色
1、设置起始颜色 initWithStartingColor:endingColor:
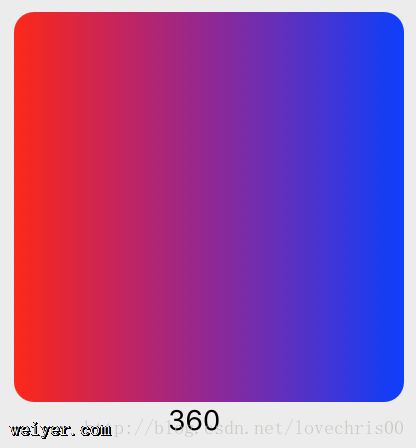
NSGradient 继承自 NSObject ,一般在自定义 NSView 时,写在 drawRect 方法中。
如,创建 MSView 继承自 NSView,在 MSView.m 中写下如下代码,并添加到 window.contentview 中,即可看到效果。
#import "MSView.h"

@implementation MSView

- (void)drawRect:(NSRect)dirtyRect {
    [super drawRect:dirtyRect];
    self.wantsLayer = YES;
    self.layer.backgroundColor = [NSColor lightGrayColor].CGColor;

    NSGradient *gradient = [[NSGradient alloc] initWithStartingColor:[NSColor redColor] endingColor:[NSColor blueColor]];

    NSRect blackOutlineFrame = NSMakeRect(0.0, 0.0, self.bounds.size.width, self.bounds.size.height);
    NSBezierPath *path = [NSBezierPath bezierPathWithRoundedRect:blackOutlineFrame xRadius:25 yRadius:25];

    [gradient drawInBezierPath:path angle:180];
}
其中 path 由 NSBezierPath 绘制,你也可以用 NSBezierPath 的其他函数来绘制这个闭合曲线,如方法:
+ (NSBezierPath *)bezierPathWithRect:(NSRect)rect;//方形
+ (NSBezierPath *)bezierPathWithOvalInRect:(NSRect)rect;//椭圆、圆形
+ (NSBezierPath *)bezierPathWithRoundedRect:(NSRect)rect xRadius:(CGFloat)xRadius yRadius:(CGFloat)yRadius NS_AVAILABLE_MAC(10_5);//带圆角的方形
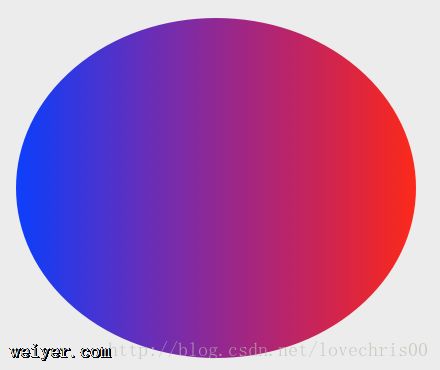
如 椭圆形渐变色图案:
2、多个颜色渐变 initWithColors
使用 initWithColors , 添加的颜色会均匀分布。
颜色会从右到左的显示。
NSGradient *gradient = [[NSGradient alloc] initWithColors:@[[NSColor blueColor],[NSColor greenColor],[NSColor yellowColor]]];
vcnM=" src="/uploadfile/Collfiles/20171019/2017101909511750.png" />
3、多个颜色线性控制 initWithColorsAndLocations
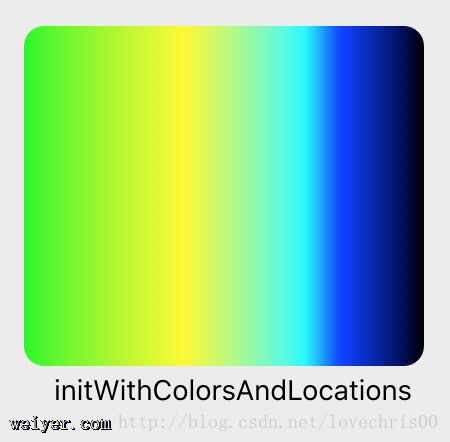
后面跟上颜色和坐标,坐标从0开始,到1结束。
颜色会从右到左的显示。
NSGradient *gradient = [[NSGradient alloc] initWithColorsAndLocations: [NSColor blackColor], 0.0, [NSColor blueColor], 0.2, [NSColor cyanColor], 0.3, [NSColor yellowColor], 0.6, [NSColor greenColor], 1.0, nil];
4、多个颜色 initWithColors:atLocations:colorSpace
将颜色和 location 各做一个数组来天设置,下面代码效果同上。
double d[] = {0.0, 0.2, 0.3, 0.6, 1.0};
    NSColorSpace *space = [NSColorSpace genericRGBColorSpace];
    NSGradient *gradient = [[NSGradient alloc]initWithColors:@[[NSColor blackColor],[NSColor blueColor],[NSColor cyanColor],[NSColor yellowColor],[NSColor greenColor]] atLocations:d colorSpace:space];
设置路线
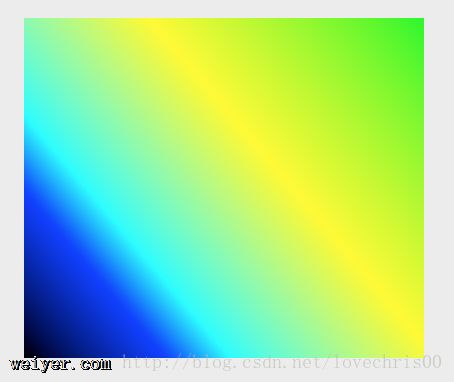
1、drawFromPoint:toPoint:options:
[gradient drawFromPoint:NSMakePoint(10, 10) toPoint:NSMakePoint(190, 160) options:NSGradientDrawsBeforeStartingLocation];
NSGradientDrawingOptions
typedef NS_OPTIONS(NSUInteger, NSGradientDrawingOptions) {
NSGradientDrawsBeforeStartingLocation = (1 << 0),//扩展整个渐变到渐变的起点之前的所有点。0不扩展该渐变。
NSGradientDrawsAfterEndingLocation = (1 << 1), //扩展整个渐变到渐变的终点之后的所有点
};
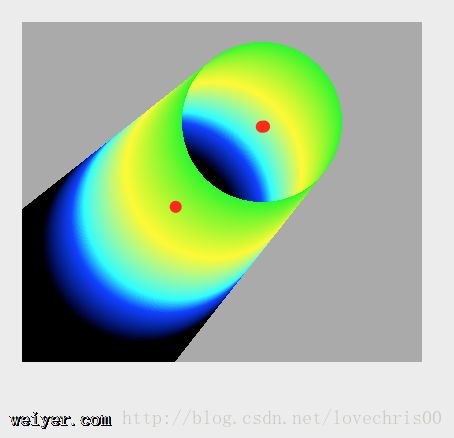
2、圆环形
[gradient drawFromCenter:NSMakePoint(60, 60) radius:50 toCenter:NSMakePoint(120, 120) radius:40 options:NSGradientDrawsBeforeStartingLocation];
上述效果,像不像个酒瓶:
先介绍到这里了,还有其他效果和画法,等待大家去尝试了,画出好看优雅的图形,欢迎反馈给我~~


